
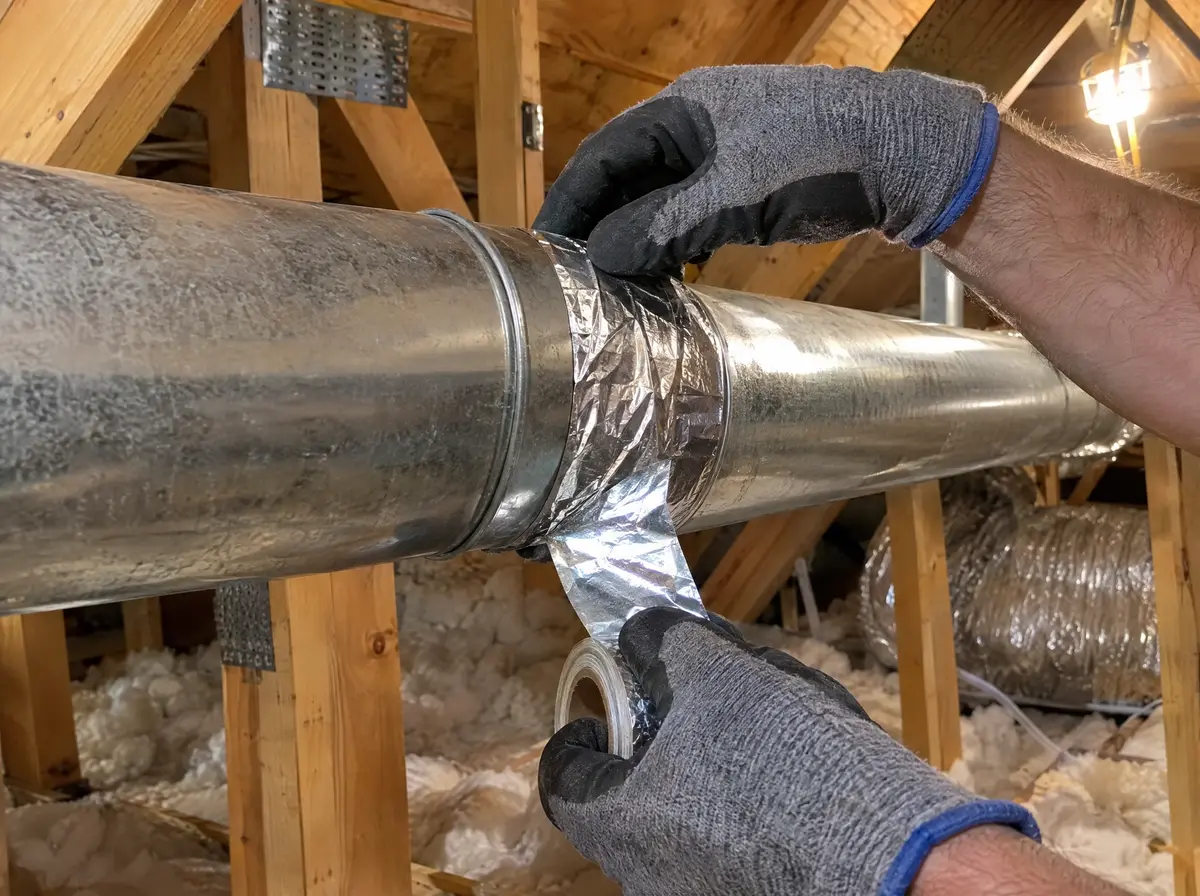
Rigid metal duct is the only material allowed for the dryer vent run in Florida, from the wall behind the dryer all the way to the outside. Foil hose has one legitimate job: the short transition connection between the dryer and the wall, and only when it is listed to UL 2158A, no longer than 8 feet and never concealed in a wall or ceiling. If you have foil hose snaking through an attic or hidden in a wall, it should be replaced.
The four materials you will find
Walk into enough Florida laundry rooms and you see the same four products over and over. Only two of them belong in a dryer vent system, and each of those has a specific place.
| Material | Where it is allowed | Main drawbacks |
|---|---|---|
| Rigid metal duct, smooth interior | The full vent run, including inside walls, ceilings and attics | Needs measuring and fitting, less forgiving of awkward spaces |
| Semi-rigid aluminum duct | Transition behind the dryer only, if listed | Not for concealed use, still has some ridges |
| Foil flexible hose | Transition behind the dryer only, if listed | Crushes easily, ridges trap lint, tears |
| White vinyl hose | Nowhere | Not a listed dryer transition product |
Rigid metal: why the code insists on it
The Florida Building Code, section M1502, requires the exhaust duct to be 4 inch rigid metal with a smooth interior, at least 0.016 inch thick. Each part of that requirement does something.
The smooth interior lets lint ride along with the air instead of catching. The rigid wall keeps the full 4 inch opening when insulation, storage boxes or a person’s knee presses on it in the attic. The metal contains heat. If lint does ignite inside a rigid run, the fire has a much harder time getting out of the duct than it would through thin foil.
Rigid duct also lasts. Properly supported and sealed, it does not sag into low spots that collect water, which matters in a humid Florida attic where condensation can turn lint into a heavy paste.
Foil hose: why it causes so many problems
Foil hose is cheap and bends around anything, which is why it ends up in places it should not be. The same features that make it easy to install make it a poor duct.
Its accordion ridges catch lint in every fold. It flattens when the dryer is pushed back against the wall, and once flattened it rarely recovers. In an attic, it sags between supports and forms dips. Over time, the thin foil tears at the ends, and lint and moist air pour into the wall cavity or attic.
None of this matters much for a short, visible piece behind the dryer that you can see, straighten and replace. All of it matters inside a wall, where you cannot see the damage and a fire would start out of sight. That is why the code allows a listed foil hose only as the visible transition and never as concealed duct.
Semi-rigid aluminum: the better transition
For the connection between the dryer and the wall, semi-rigid aluminum duct is usually the better choice. Its wall is thicker than foil, it holds its shape when bent, and it resists crushing when the dryer is pushed back. Look for the UL 2158A listing on the product or its packaging.
The same rules still apply. It stays behind the dryer, it stays visible, and it stays under 8 feet. In most laundry rooms, a few feet is enough.
Vinyl hose: replace it
White plastic hose shows up in older homes and quick installs. It is not a listed dryer transition duct, it softens with heat and it does nothing to contain a fire. If you find it, replace it with a listed metal transition and rigid metal duct.
Joints and tape matter too
Even the right duct can be installed badly. Rigid sections should be joined with the male end pointing toward the outside, so air and lint flow over each joint instead of into it. The code prohibits screws or any fastener that protrudes into the duct, since every screw tip catches lint.
Joints are sealed with foil tape. Cloth duct tape dries out in heat and peels away, which is why you so often find it hanging loose in attics.
| Installation detail | Right way | Common mistake |
|---|---|---|
| Joint direction | Male end toward the outside | Joints reversed, lint catches on each lip |
| Fastening | Foil tape around the joint | Screws through the duct wall |
| Support | Duct supported so it stays straight | Sags between trusses, forms low spots |
| Transition length | As short as practical, under 8 feet | Long coils of hose behind the dryer |
How to tell what you have
Pull the dryer out and look at the hose. Foil looks like thin, crinkly aluminum with tight ridges. Semi-rigid is a dull metal tube with wider ridges that holds its shape. Rigid duct is a smooth metal pipe.
Then follow the run as far as you can. Look in the attic above the laundry room or in any access panel. If you see foil or vinyl leaving the laundry area and continuing into the structure, that is a concealed flexible run and should be replaced. Our guide to the Florida dryer vent code lists the rest of what to check.
Replacing foil with rigid metal
Swapping concealed foil for rigid metal is one of the most common jobs we do. It is a dryer vent installation or replacement, priced at $200 to $600 depending on how much duct is replaced, how many fittings the route needs and whether it runs through a wall, an attic or a roof. We measure airflow before we start, install rigid metal on the shortest safe path, seal every joint with foil tape, and measure again when we finish.
Because foil hose is one of the conditions that raise fire risk, it is worth reading our article on dryer vent fire risk if you find it in your home.