
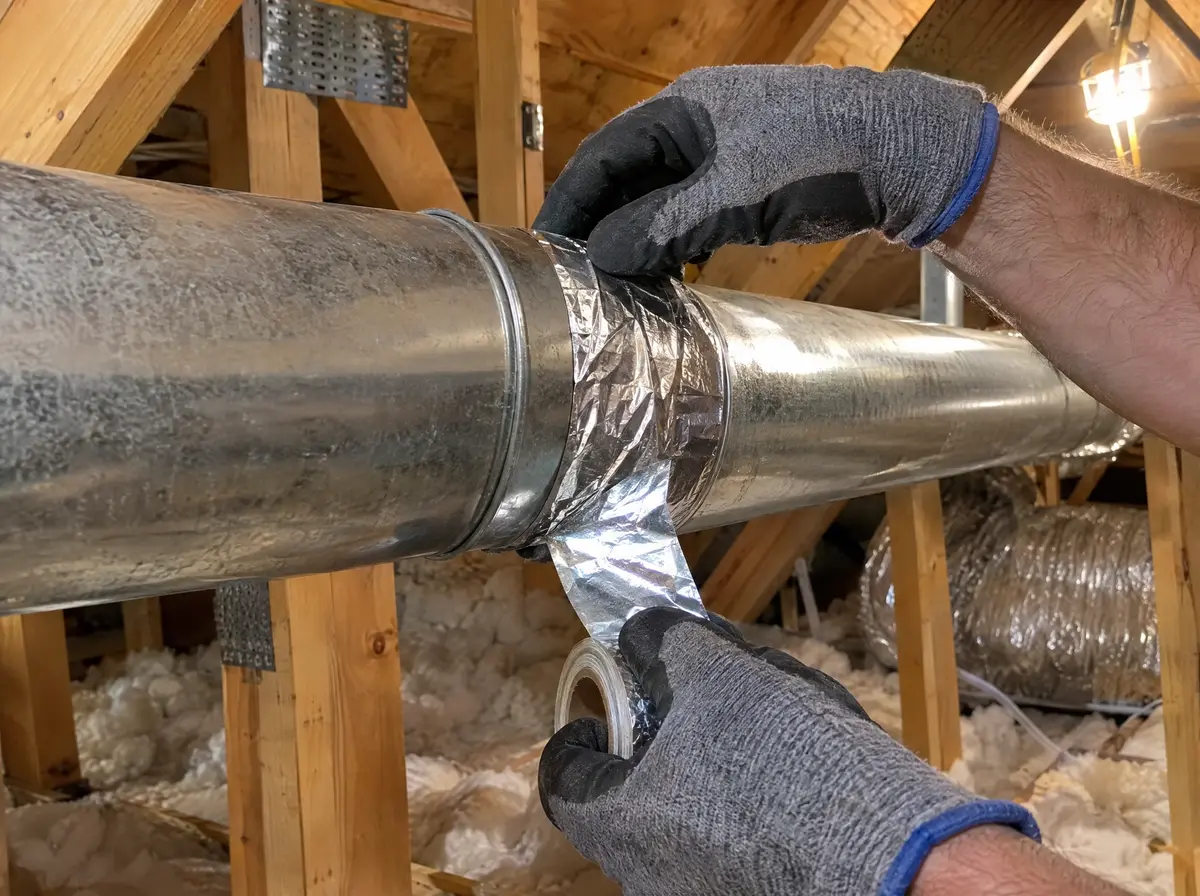
Florida’s dryer vent rules are in the Florida Building Code, Residential, section M1502, which follows the International Residential Code. In short, the exhaust duct must be 4 inch rigid metal with a smooth interior, joints cannot be held with screws, the run is limited to 35 feet minus an allowance for each bend unless the dryer maker permits more, the hose behind the dryer must be listed, under 8 feet and visible, and the outside termination needs a backdraft damper, no screen, and at least 3 feet of distance from any opening into the house.
The M1502 rules at a glance
| Rule | What the code requires |
|---|---|
| Duct size | 4 inch diameter |
| Duct material | Rigid metal with a smooth interior |
| Duct thickness | At least 0.016 inch |
| Joints | Not fastened with screws or anything that protrudes into the duct |
| Maximum developed length | 35 feet |
| Deduction per 45 degree bend | 2.5 feet |
| Deduction per 90 degree bend | 5 feet |
| Longer runs | Only where the dryer manufacturer’s instructions allow |
| Transition hose | Listed to UL 2158A |
| Transition hose length | No longer than 8 feet |
| Transition hose location | Not concealed in a wall or ceiling |
| Termination distance | At least 3 feet from any opening into the building |
| Termination fittings | Backdraft damper required, no screen |
Duct material and thickness
The run from the wall behind the dryer to the outside must be rigid metal with a smooth interior, at least 0.016 inch thick. Smooth metal lets lint slide along with the air instead of catching in ridges, it holds its shape when something presses on it, and it contains heat if something does go wrong.
This rules out foil and vinyl hose for the run itself. Flexible foil duct is often found snaking through Florida attics and inside laundry room walls, especially where a laundry was moved or a dryer was replaced in a hurry. Our article on foil versus rigid dryer duct explains where each one is allowed.
Joints without screws
Rigid duct sections slip together, with the male end pointing in the direction of airflow so lint flows over the joint rather than into it. The code prohibits screws or any fastener that pokes into the duct, because every screw tip inside becomes a snag point. Lint catches on it, more lint catches on that, and a plug forms.
Joints are sealed with foil tape. Cloth duct tape is not a substitute, since it dries out and lets go over time in a hot attic.
How the 35 foot limit works
The 35 foot figure is not just the measured length of pipe. Each bend adds resistance, so the code takes a deduction for it.
Here is a worked example. Say the dryer sits on an interior wall and the duct runs up into the attic and out through the roof.
| Part of the run | Effect on the limit |
|---|---|
| Starting allowance | 35 feet |
| One 90 degree elbow behind the dryer | Minus 5 feet |
| One 90 degree elbow turning into the attic | Minus 5 feet |
| Two 45 degree bends to clear a truss | Minus 5 feet |
| Allowed straight duct remaining | 20 feet |
If the actual straight duct in that route measures 26 feet, the run is over the limit. The answers are a shorter route, fewer bends, or confirmation that the dryer manufacturer’s installation instructions allow a longer run. Some manufacturers publish their own longer limits, so the dryer manual matters. Where a run is legitimately long, a dryer booster fan is sometimes part of the answer, which we cover in our article on dryer vent booster fans.
The transition hose
The short hose between the back of the dryer and the wall connection is the transition duct. It must be listed to UL 2158A, it cannot be longer than 8 feet, and it cannot be concealed inside a wall or ceiling. The listing is usually printed on the hose or on its packaging.
In practice, shorter is better. A hose that is just long enough to let you pull the dryer out for cleaning, without coiling or sagging, gives the least resistance.
The termination
The duct has to end outside the building, at least 3 feet from any opening such as a door, window or soffit vent, so moist air and lint do not come back in. The termination needs a backdraft damper, a flap that opens when the dryer runs and closes when it stops, and it cannot have a screen.
The no screen rule surprises many people, especially those dealing with birds. A screen catches lint every time the dryer runs and closes the outlet quickly. Our article on roof versus wall dryer vents covers which caps and hoods suit each location.
What a homeowner can check
You do not need tools to spot most code problems. Go through this list:
- Behind the dryer, check the hose. Is it longer than 8 feet, crushed, or disappearing into the wall?
- Look for a listing on the hose. Foil hose without one, or vinyl hose of any kind, should be replaced.
- In the attic or laundry closet, look at any duct you can see. Is it rigid metal or foil?
- Look at the joints. Do you see screw heads?
- Outside, find the hood or cap. Does it have a flap that closes, or is it a screened opening?
- Measure roughly from the termination to the nearest window or door. Is it at least 3 feet?
- Count the bends you can see and estimate the length of the run.
Anything that fails one of those checks is worth having looked at.
Bringing a vent up to code
Correcting a vent usually means replacing foil with rigid metal, rebuilding joints without screws, shortening the route, or replacing a termination that has a screen or no damper. A dryer vent installation or replacement with Dryer Vent Florida costs $200 to $600, depending on how much duct is replaced and the route. We use rigid metal on the shortest safe path, seal the joints with foil tape, and measure airflow before and after.