
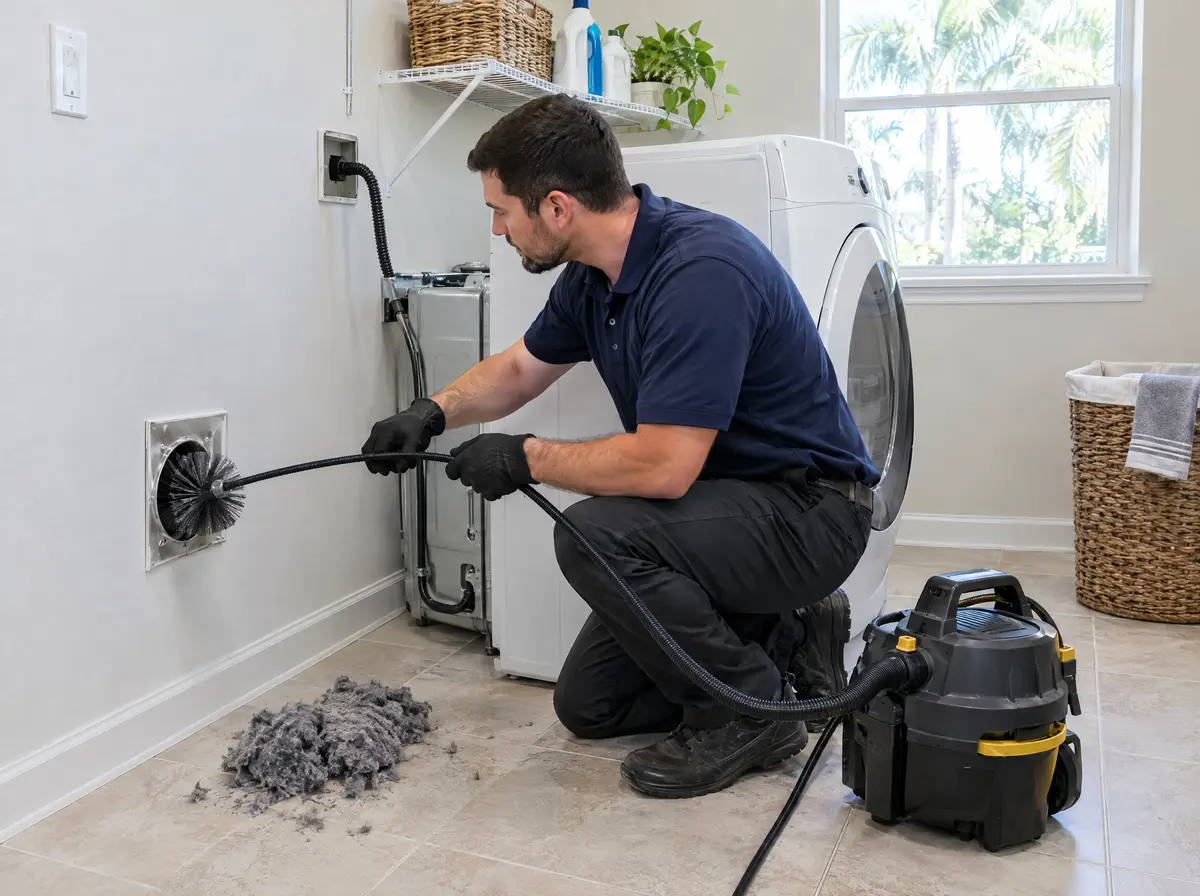
A homeowner can safely clean the lint screen and its housing, the transition hose behind the dryer, and an outside wall hood within reach of the ground. With a brush kit, you can also clear a short, straight run through an exterior wall. Long runs, roof caps, attic ducts and anything that needs the duct opened are where DIY stops working well, and where a professional cleaning with airflow measurements earns its cost.
What you can safely do
| Task | DIY suitable? | Notes |
|---|---|---|
| Clean the lint screen after every load | Yes | The single most useful habit |
| Wash the lint screen with soapy water | Yes | Removes film from dryer sheets |
| Vacuum the lint screen housing | Yes | Use a long, narrow attachment |
| Check and clean the transition hose | Yes | Unplug first, take care with gas dryers |
| Replace a crushed transition hose | Yes | Listed to UL 2158A, under 8 feet, visible |
| Clear a wall hood from the ground | Yes | Check the damper swings and closes |
| Brush a short straight wall run | Usually | Spin the rods in the right direction |
| Brush a long run with several bends | Limited | Brush rarely reaches the far end |
| Clean a roof cap | No | Roof access and fall risk |
| Repair attic joints or replace concealed duct | No | Rigid metal, no screws, code rules apply |
Step 1: The lint screen and its housing
Clean the screen after every load. Every few months, wash it in warm soapy water with a soft brush, especially if you use dryer sheets or liquid softener, which leave a waxy film that blocks the mesh. Hold it under a tap; water should pass straight through.
With the screen out, look down into the slot. Lint packs in there over time. A narrow vacuum attachment or a long flexible lint brush made for the purpose reaches most of it.
Step 2: The transition hose
Unplug the dryer before you move it. For a gas dryer, slide it out gently and do not stretch or kink the flexible gas connector. If you are not comfortable working around the gas line, leave this step to someone who is.
Pull the hose off the back of the dryer and off the wall connection. Shake it out, look for crushing or tears, and vacuum both ends. If it is thin foil that has been flattened, replace it. A semi-rigid aluminum transition listed to UL 2158A holds its shape better. Keep it as short as practical, never longer than 8 feet, and never run it into the wall. Our article on foil versus rigid dryer duct explains why.
While the hose is off, look into the wall connection with a flashlight. Lint packed right at the opening is easy to pull out.
Step 3: The outside hood
Find the hood on the exterior wall. Pull any lint from the louvers or flap, and clear mulch, plants or debris around it. Run the dryer and check that the flap opens firmly, then turn it off and check that the flap closes flat.
If you see twigs, grass or feathers, or hear chirping, stop. That is a nest, and pulling it from the front usually leaves most of it inside.
Step 4: Brushing a short run with a kit
Brush kits use flexible rods that screw together, a round brush on the end, and a drill to spin it. On a short, straight run through a wall, they do a reasonable job.
A few rules keep them from causing trouble:
- Spin in the tightening direction. Spinning the other way can unscrew the rods and leave a brush stuck in the duct.
- Work from the inside out where you can, so loosened lint moves toward the exit.
- Go slowly at bends. Forcing a brush through an elbow can pull a joint apart.
- Do not use a kit on foil or vinyl hose in the wall. The brush tears it.
When you finish, run the dryer and check the flap outside again.
Where kits run out of reach
Brush kits have real limits, and most of them show up in exactly the homes that need cleaning most.
| Limit | What happens |
|---|---|
| Long runs | The rods do not reach the far end, so the middle stays packed |
| Several bends | The brush stalls or loosens joints at elbows |
| Packed lint | The brush compresses it into a plug further down |
| Roof terminations | You cannot safely work the far end from a ladder on a roof |
| Hidden damage | A separated attic joint or crushed section goes unseen |
| No measurement | You cannot tell how much airflow improved |
A leaf blower aimed into the duct has its own risk. If a joint has separated in the wall or attic, the blower pushes lint into the building rather than out of it.
When to call a professional
Call when any of these apply:
- The vent runs through the attic or ends on the roof.
- The run is longer than your kit reaches, or has more than a couple of bends.
- You find foil or vinyl hose disappearing into a wall or ceiling.
- There are signs of a nest at the hood or cap.
- Loads still take two cycles after you have cleaned everything you can reach.
- You smell anything scorched.
Our list of signs of a clogged dryer vent covers the warning signs in more detail.
What a professional cleaning adds
A dryer vent cleaning with Dryer Vent Florida costs $100 to $200. We measure airflow at the outside termination before starting, pull and check the transition hose, run a rotary brush and compressed air through the full run from both ends where possible, clear the hood or roof cap and free the damper, then take a second airflow reading.
The DIY steps above are worth doing between visits, since they slow buildup and catch simple problems early. Our guide on how often to clean a dryer vent suggests how long you can go between full cleanings.